SpatialChat Teams and Spaces
The Space is a virtual venue you create, which can contain various rooms.
The Team is a collection of spaces organized according to the preferences of the owners or administrators.
Teams and Spaces are displayed on your dashboard as follows.
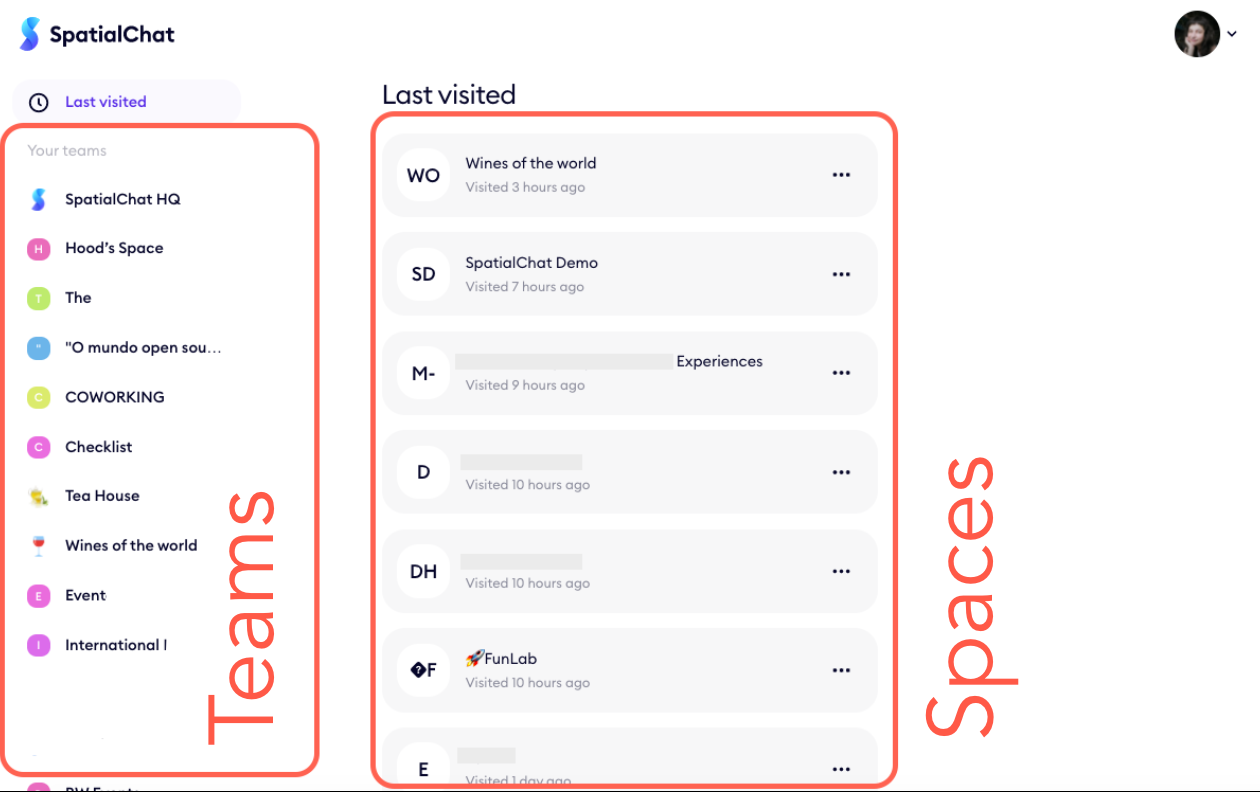
How to use the Team panel
Let's take the team "Wines of the World" as an example, which can be easily managed from the Dashboard.
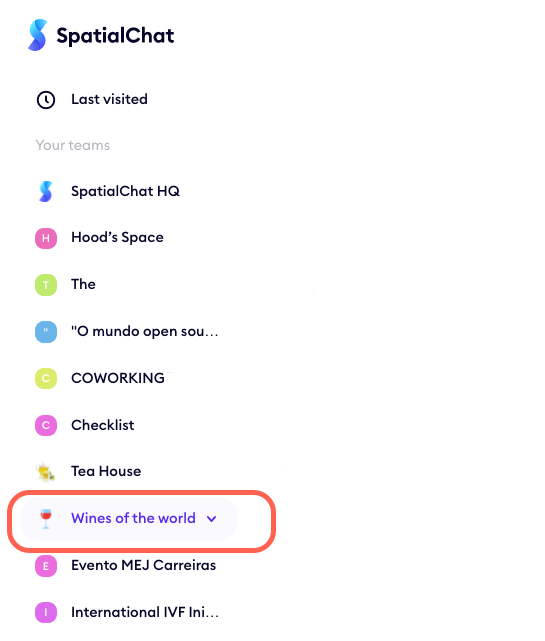
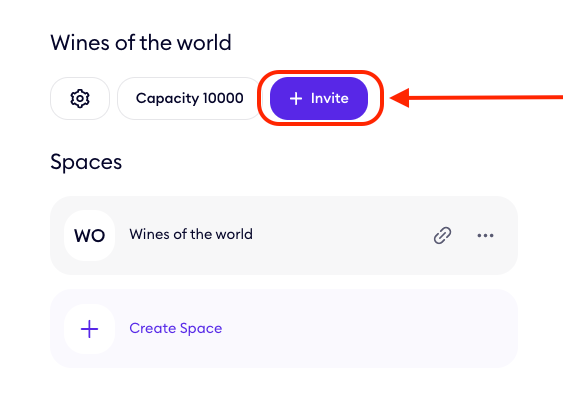
If I click on a Team from the dashboard:
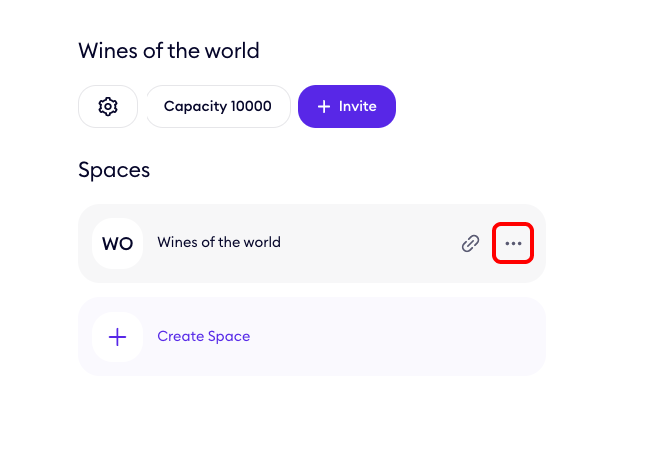
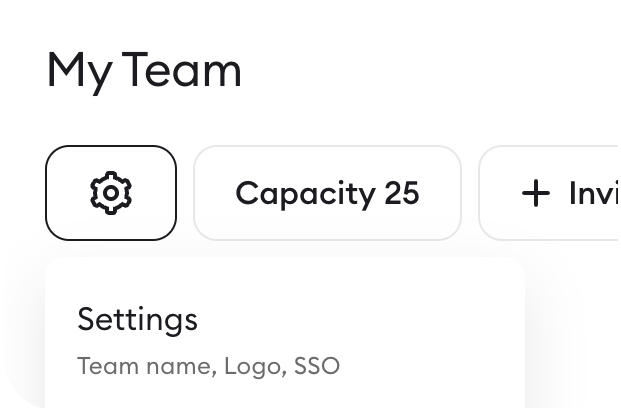
- It redirects me to the Team panel. Here, I can see the capacity of the Team, invite members, and manage spaces.
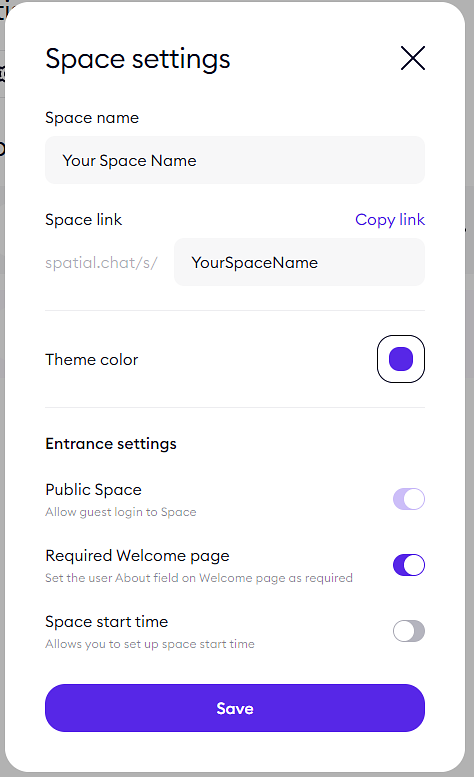
- The first option on the left is "Settings,"
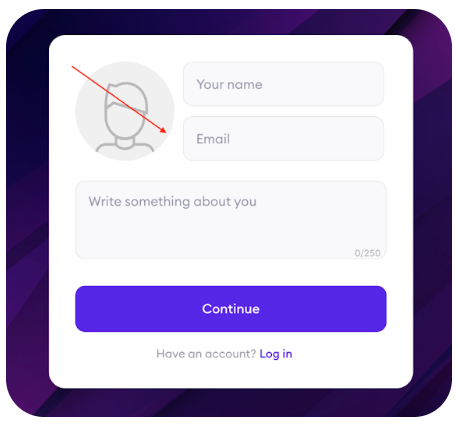
You, as an admin, can switch off the Public Space option, and "Continuous as a guest" will disappear. It means your participants will need to Login with the mail.
Also you can access a range of features such as Users, Plan details, Logo, SSO, and more.
From these panels, I can conveniently manage and customize my Team as needed.


How to invite members to your Team
Users must be invited to gain access to the team and its spaces:
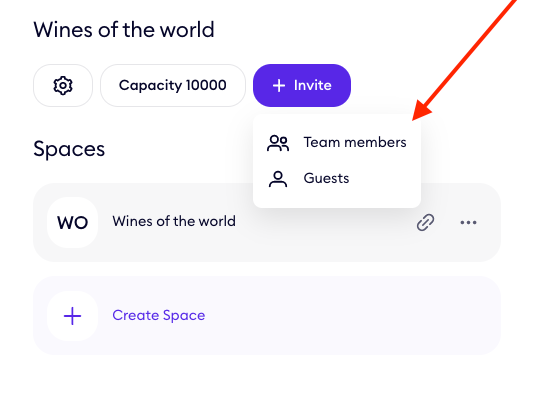
- Сlick on the purple button "+Invite," type the e-mail you want to invite, and select the space.
- Select between Members and Guests:
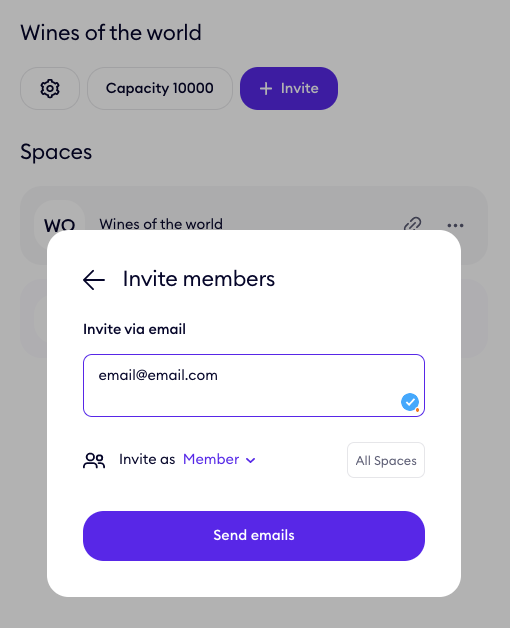
- Then add their e-mails and select their role:
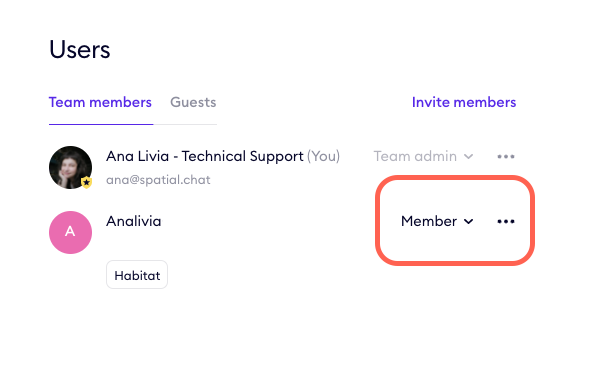
- Once your members have accepted the invite, you can change the levels of permissions and assign different spaces through the user panel.
How to create a Space
To create a new space, select the team to which it will belong, then click "Create space".
There are several options when creating a space:
- Create a new space: Click "Create default space" in a new window.
- Create a space based on a themed template: Choose one of the room designs that's tailored to your desired theme.
Afterward, decide on a name for your space and click "Continue.”

Next, grant permission for camera and microphone access, test their functionality (optionally enable the virtual background or noise cancellation features), and enter the space by clicking "Join space".
Require Email for Room Entry (Team or Space Level)
Add a layer of identity with flexible control.
Guests can now be required to enter an email to join. This behavior is managed at both the team and space levels.
Why it matters:
- Enhances security and tracking
- Useful for gated events or internal spaces
- Helps with follow-ups and organization
How to enable:
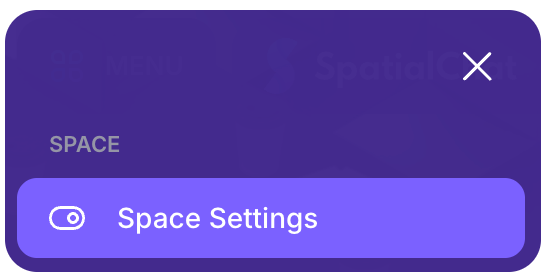
- Enable "Invitation email required" in:
- Team Settings (applies globally)


- Space Settings (per space control)

- The email format is validated, but functionality doesn’t require a verified address.
Disable Direct Chat
Keep conversations centralized and on-topic.
This setting disables 1:1 direct messages between members, helping you maintain focus in moderated spaces.
It prevents distraction during events, supports transparent communication, and it's great for webinars, training sessions, and classrooms
How to enable:
- Go to Team Settings
- or Space Settings

- Toggle on Disable Direct Chat

- Save
How to invite members to your Space
While in a space, you can also invite users to join.
This process is detailed in this article:
 Sasha Rosman